
November 21, 2025
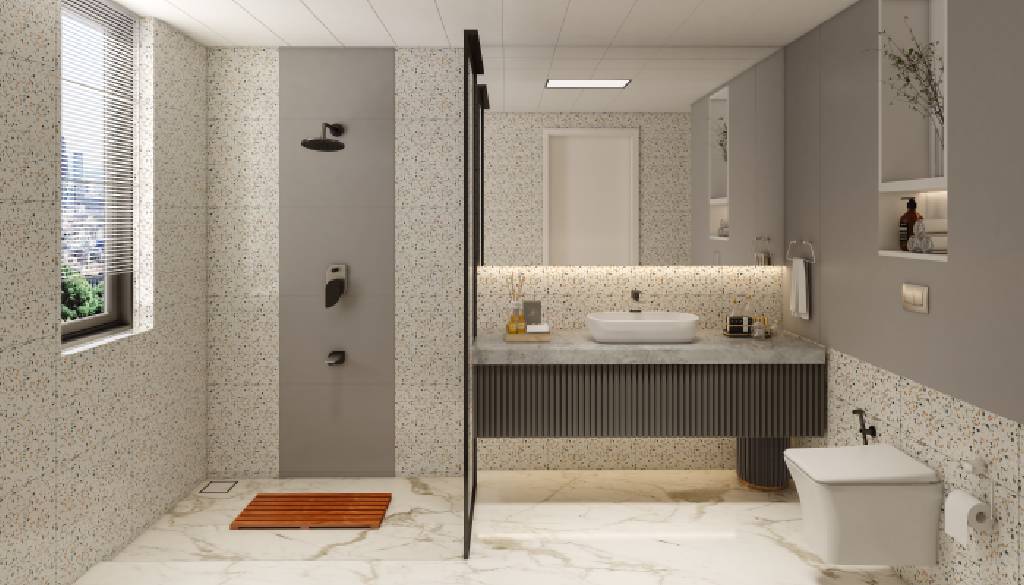
A well-chosen table top basin upgrades a vanity from basic to premium while keeping cleaning simple and splash under control. The best results come from matching size, mixer height, waste position, and bottle trap visibility, so installation is clean the first time.
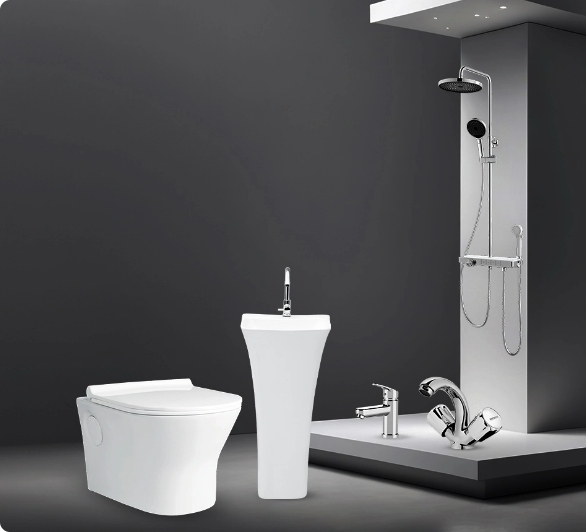
This product-focused guide explains how to select a top counter wash basin for Indian homes, what to check on-site before ordering, and how Watertec’s coordinated components can simplify the handover.
Choosing the right size and shape
Start with the counter. Measure clear width, front overhang, and the distance to side walls or tall storage so elbows do not collide when washing hands. Round and oval bowls soften corners in compact vanities, while rectangles offer a larger usable area on wider counters. Depth matters.
Shallow bowls look sleek but can splash with high pressure. Deeper bowls control splash better and suit family bathrooms. Confirm external dimensions and internal bowl depth so the table top basin feels comfortable for daily use.
Mixer pairing and splash control
A vessel-style bowl typically requires a taller pillar mixer or a wall-mounted spout. Check three numbers before you buy. Spout height above rim, spout reach to hit the bowl centre, and site water pressure. Too high a spout and a shallow bowl equals a splash. Too short a reach, and water hits the back ledge. In Indian homes with variable pressure, consider aerators that stabilise flow and reduce misting.
For a top counter wash basin next to a mirror, controlling splash also protects finishes and reduces cleaning time.
Counter cutout and waste alignment
Even though a table top basin sits above the counter, most models need a small cutout for the waste and anchoring. Align the basin’s waste with the counter’s drilled hole and the wall outlet to avoid forced angles. When the trap is visible, plan the centerline so the bottle trap and extension tube look vertical and clean.
If the wall outlet is offset, select a discreet offset tube or shift the basin slightly during layout rather than twisting joints on installation day.
Drain, coupling, and trap choices
A good experience depends on a smooth drain path. Pair the basin’s waste with a matching coupling and a bottle trap that provides a stable water seal and easy clean-out. For visible installs, pick a finish that matches the mixer. For tight powder rooms, a slim, space-saving bottle trap leaves knee room while maintaining the seal.
If the counter is wood or stone, add a thin gasket under the basin base to protect the surface from drips and cleaning agents.
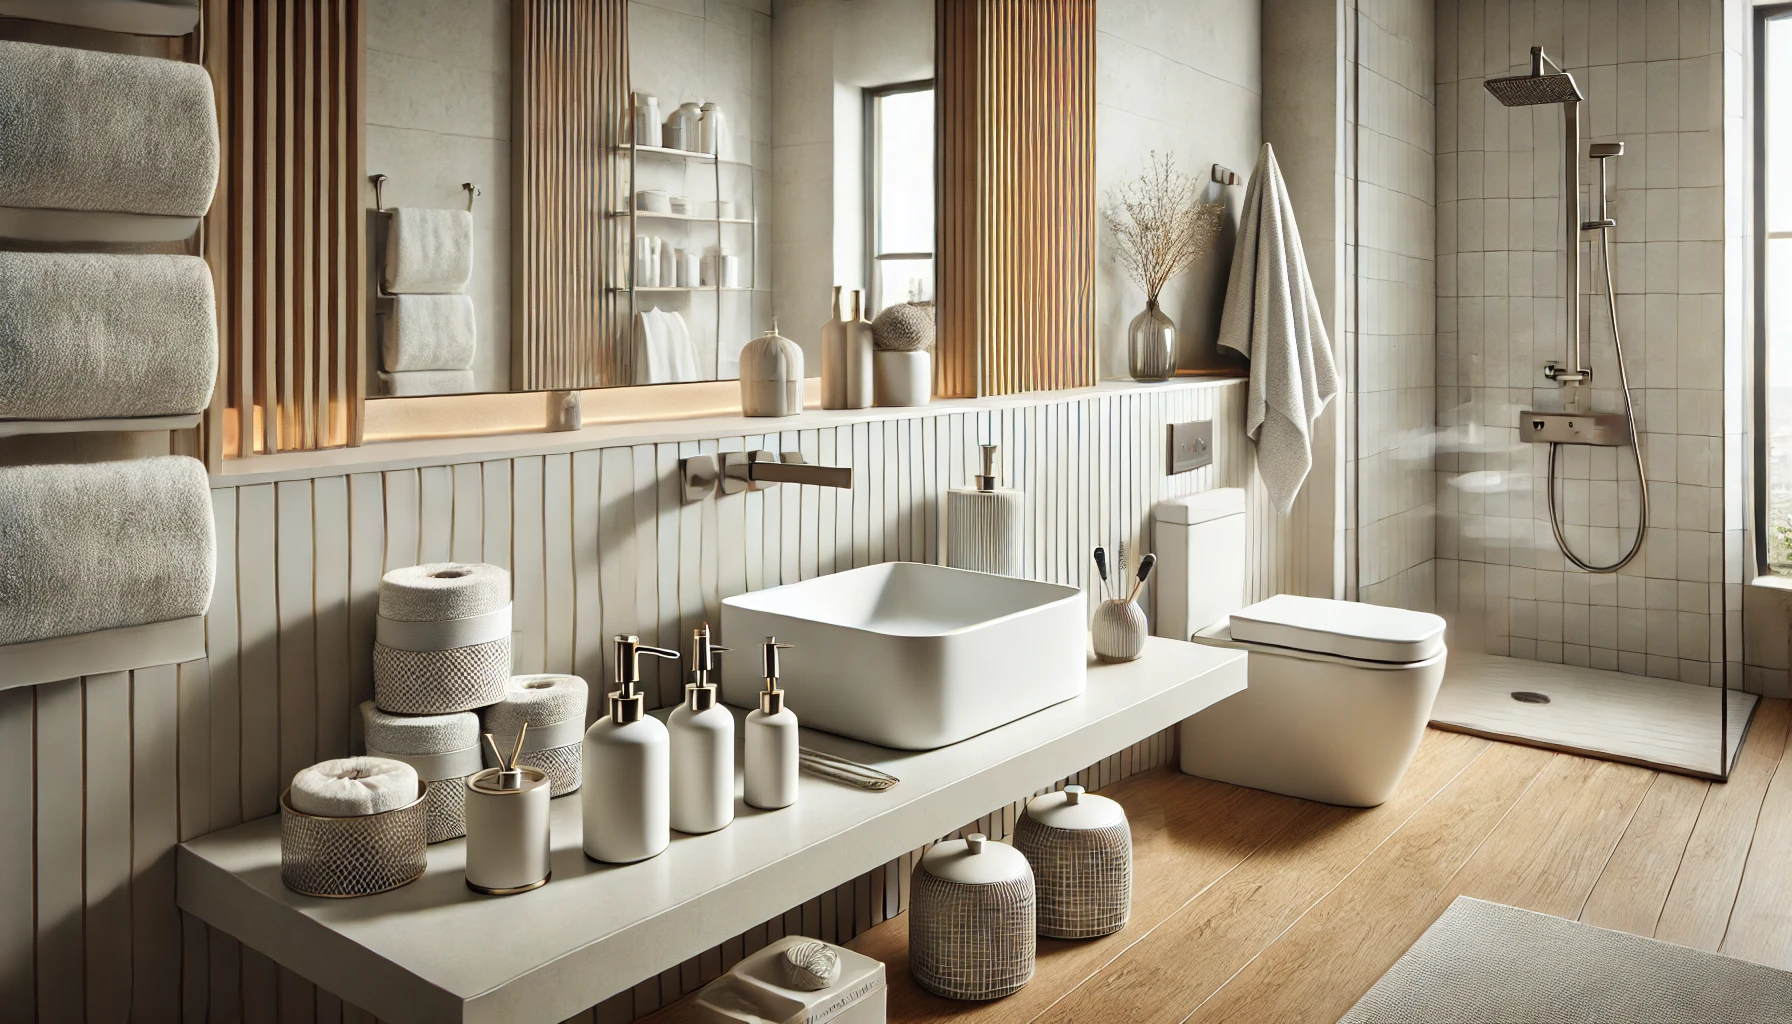
Material, finish, and cleaning
Quality ceramic with a smooth glaze is the practical choice for most Indian bathrooms. It resists staining and wipes down quickly with mild cleaners. Matte ceramics look modern but need consistent wiping to avoid patchy marks in hard-water areas. Gloss finishes hide minor water spots better.
Whatever you choose, keep a simple care routine. Weekly wipe, monthly descale around the waste, and avoid abrasive powders that dull surfaces.
Ergonomics and installation height
Comfort depends on the final rim height, not just the basin alone. Add the vanity height and the basin height to estimate the rim. Most adults are comfortable in the 820 to 860 mm band for handwashing, depending on footwear and family profile.
If different users share the same vanity, consider the mid band so children can reach with a small step, while taller adults do not stoop.
Plumbing readiness checklist
Before placing the order, tick these off with your installer. Confirm the wall outlet centre and height relative to the basin waste. Verify counter reinforcement under the basin footprint, especially on engineered stone or plywood. Flush supply lines before installing the mixer and aerator to prevent grit damage.
Pressure-test the drain joints and check the clean-out cap for weeping before sealing the area.
Why shortlist Watertec for a coordinated setup
Watertec’s coordinated approach helps match the table top basin with a compatible mixer, waste coupling, and bottle trap so finishes and dimensions line up neatly. That translates to faster installation and fewer adjustments on-site. Clear install notes and accessible spares make future maintenance straightforward.
For a top counter wash basin that looks premium and stays practical, a coordinated set reduces the number of unknowns for both homeowners and installers.
FAQs: quick answers buyers search for
What mixer height suits a vessel-style basin?
Choose a tall mixer that leaves comfortable clearance between the spout and rim or use a wall spout with a reach that hits the bowl centre.
Do I need a special trap for a visible vanity?
Yes, a bottle trap is ideal for exposed installs. It keeps a stable water seal, looks tidy, and allows easy clean-out.
How to prevent splashing on shallow bowls?
Pick a lower spout height, use an aerator that softens the flow, and position the jet toward the bowl centre.
Conclusion
A successful tabletop basin purchase starts with the counter and ends with a coordinated drain path. Size the bowl to the space, match a mixer that controls splash, align the waste to the wall outlet, and choose a bottle trap that looks clean and services quickly.
For a dependable top counter wash basin setup, shortlist Watertec’s compatible mixer, waste, and trap combinations, validate the layout on paper before drilling, and hand over with a simple care note so the vanity stays as good-looking as day one.