May 08, 2025
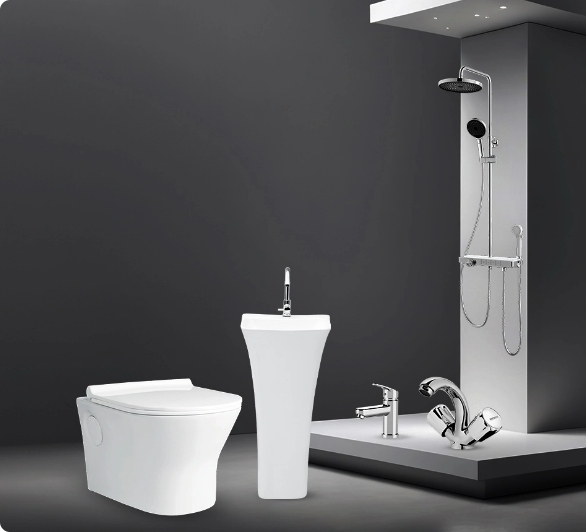
In the world of bathroom design, choosing the appropriate tap is not merely a matter of functionality—it's about giving your space that extra touch of style, reliability, and functionality. For the best bathroom fittings, Watertec stands out as a trusted name known for innovation and quality. Among its vast array of products, Watertec chrome taps have been the go-to option among homeowners and professionals.
Whether you're renovating or establishing a new bathroom, installing chrome taps correctly ensures maximum functionality and long-term durability. This easy-to-follow guide will take you through the process of installation, highlight best practices, and explain why Watertec remains at the forefront of both bathroom pipe fittings and stylish bathroom accessories.
Why Use Watertec Chrome Taps?
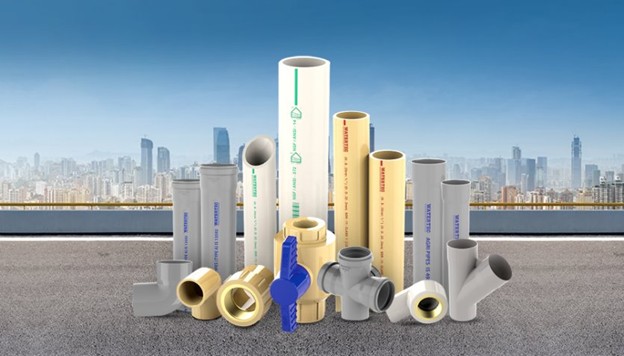
Before diving deep into the installation process, it is important to understand what makes Watertec chrome taps a top choice among users. With high-grade engineering polymers for construction and a top-grade chrome plating for finishing, these taps combine a mirror-like finish with great corrosion resistance. They are not only pretty to look at, they are made to last and are thus the foundation of the finest bathroom fittings found in India.
Tools You’ll Need
To install Watertec chrome taps, you’ll need the following tools:
Adjustable wrench or spanner
Pipe tape (Teflon tape)
Bucket or cloth (to catch any dripping water)
Plumber's tape
Cleaning cloth
Make sure to turn off the main water supply before beginning the installation to avoid spills and leaks.
Step-by-Step Installation Guide
Step 1: Clean the area around the tap installation point and remove any old fittings to ensure the threads are free of debris. If you’re replacing an old tap, use a wrench and remove it gently without damaging the plumbing underneath.
Step 2: Use pipe tape to wrap the threads of the outlet where the tap needs to be fixed. This helps ensure a watertight seal to prevent leaks.
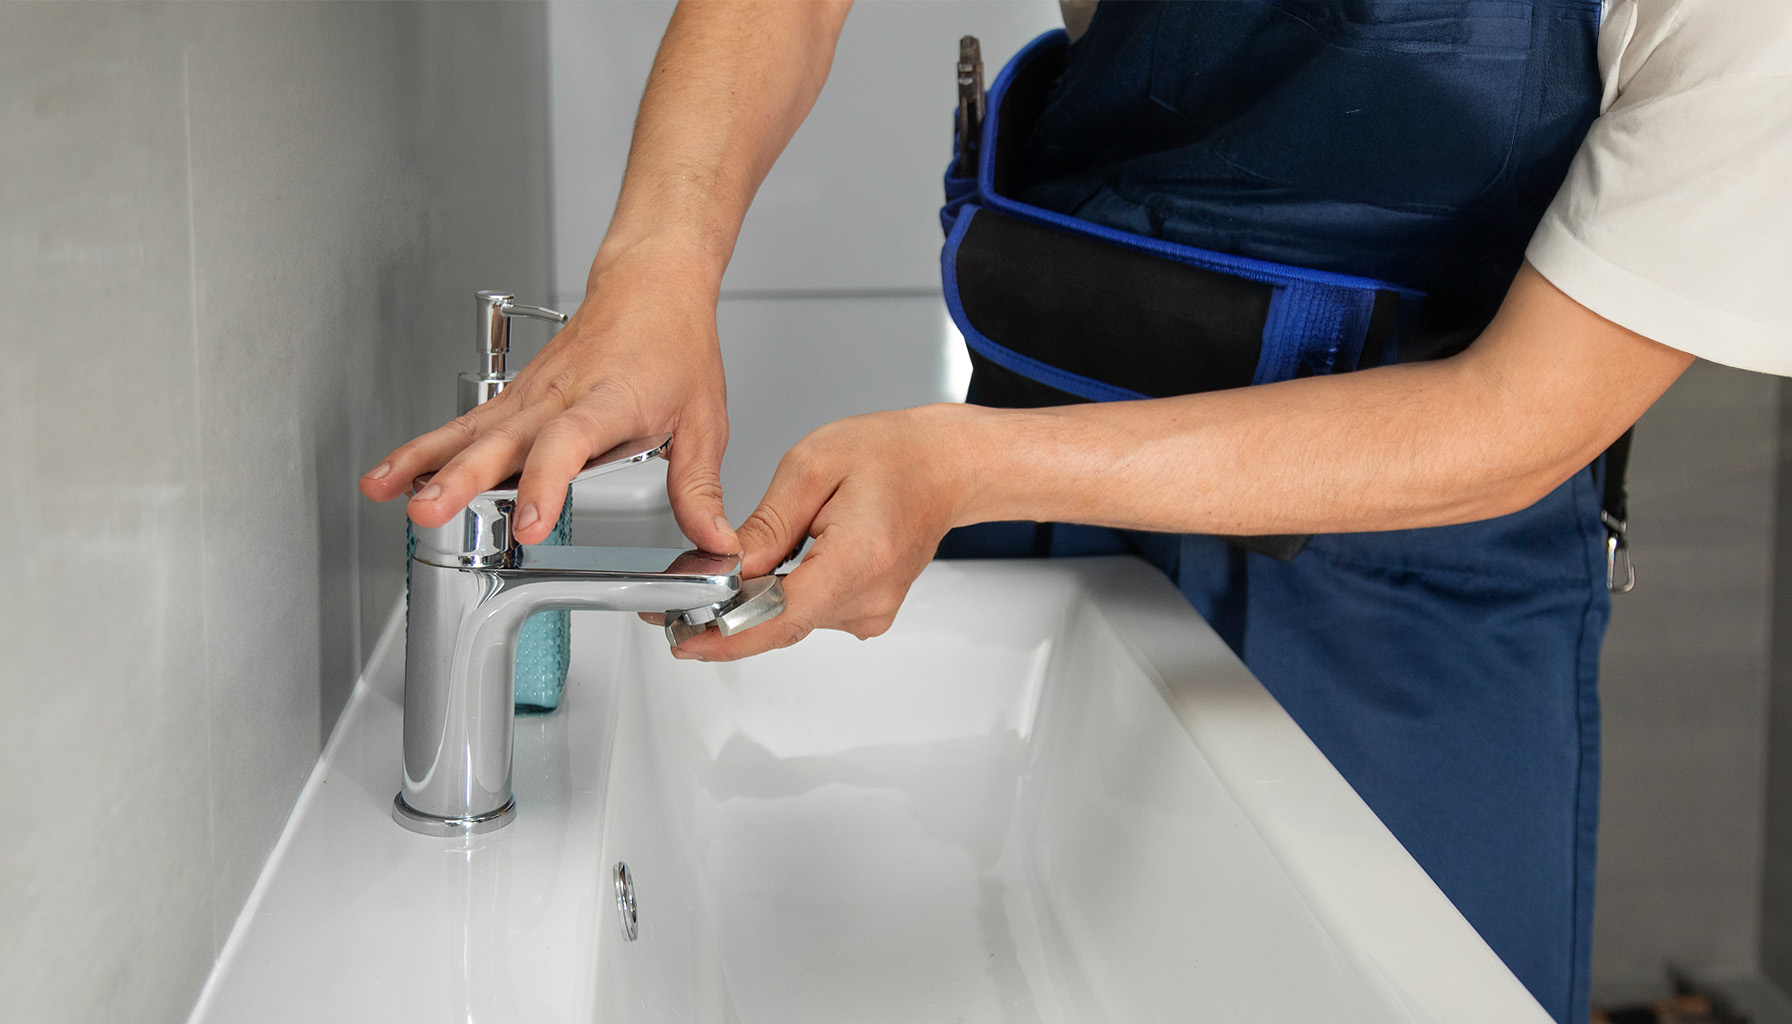
Step 3: Carefully position the Watertec chrome tap into the fitting. Hand-tighten it at first to make sure the threads align smoothly. Do not force the tap into place, as this may damage the threads or the tap itself.
Step 4: Use a wrench to tighten the tap into place. Be careful not to overtighten, it should be secure but not strained. Over-tightening can damage both the tap and the underlying bathroom pipe fittings.
Step 5: Turn On the Water Suppy
After the tap is firmly in position, restore the main water supply and look for any leaks. In case you observe any drips, tighten the fitting slightly or reapply pipe tape.
Step 6: Clean and Polish
Wipe the tap clean with a soft cloth to remove any residue from installation. This helps to keep the chrome finish in mint condition and shows Watertec's distinctive sleek appearance.
Tips for Long-Term Use
Watertec chrome taps are low maintenance, but a couple of good habits can make them last longer:
Wipe taps periodically with a clean cloth to prevent water spots.
Don't use abrasive cleaners to avoid scratching the chrome.
Test occasionally for leakage or loose fittings.
By keeping these practices up, your Watertec tap will continue to be a functioning and aesthetic focus in your bathroom for years.
Conclusion
Installing Watertec chrome taps is an easy yet satisfying experience that improves the performance and appearance of your bathroom. Supported by decades of R&D and market confidence, Watertec's taps are certainly among the finest bathroom fittings today. From durability to aesthetics, they reflect the brand's dedication to quality and customer satisfaction.
And paired with our top-notch bathroom pipe fittings, you're promising yourself a leak-free, hassle-free, and aesthetically pleasing bathroom solution. Whether you are a homeowner or a professional installer, choosing Watertec means selecting trust that shines, literally and functionally.