October 20, 2025
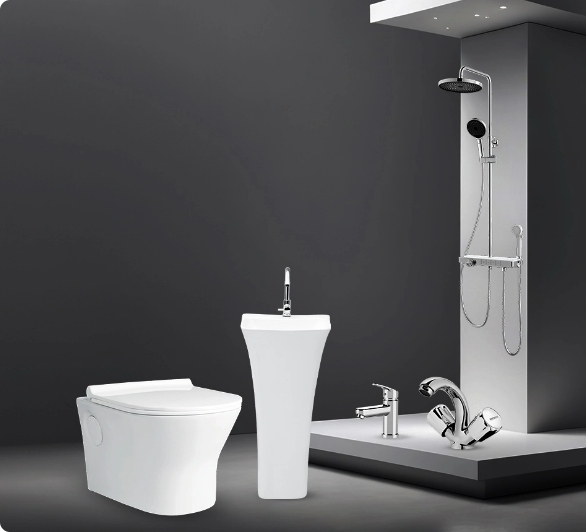
In Indian apartments and villas, hot-water lines, booster pumps, and multi-bath concurrency put real stress on CPVC pipe fittings and solvent-welded joints. The right pressure class, paired with disciplined joint preparation and cure control, is what keeps pipes and fittings leak-free long after the tiler leaves.
This guide explains how to match pressure ratings to real conditions, how to execute a reliable solvent-weld SOP, and how to procure a single-system bill of materials that avoids cross-brand compatibility risks.
Pressure class selection for Indian conditions
Specifying pressure class begins with actual inlet behaviour, not brochure numbers. If a pressure pump sits on the line or the site receives high municipal surges, plan for the peak, not the average.
In hot lines, temperature derating reduces allowable working pressure, so a class that is safe at ambient may be marginal at geyser outlet conditions. For multi-bath layouts that see two or more showers plus basin use, consider upsizing the diameter to lower friction loss, then select the pressure class that preserves margin with the derating applied.
The practical outcome is simple: correct class plus sensible upsizing protects both flow comfort and joint safety without overspending.
Solvent-weld integrity: field SOP that prevents leaks
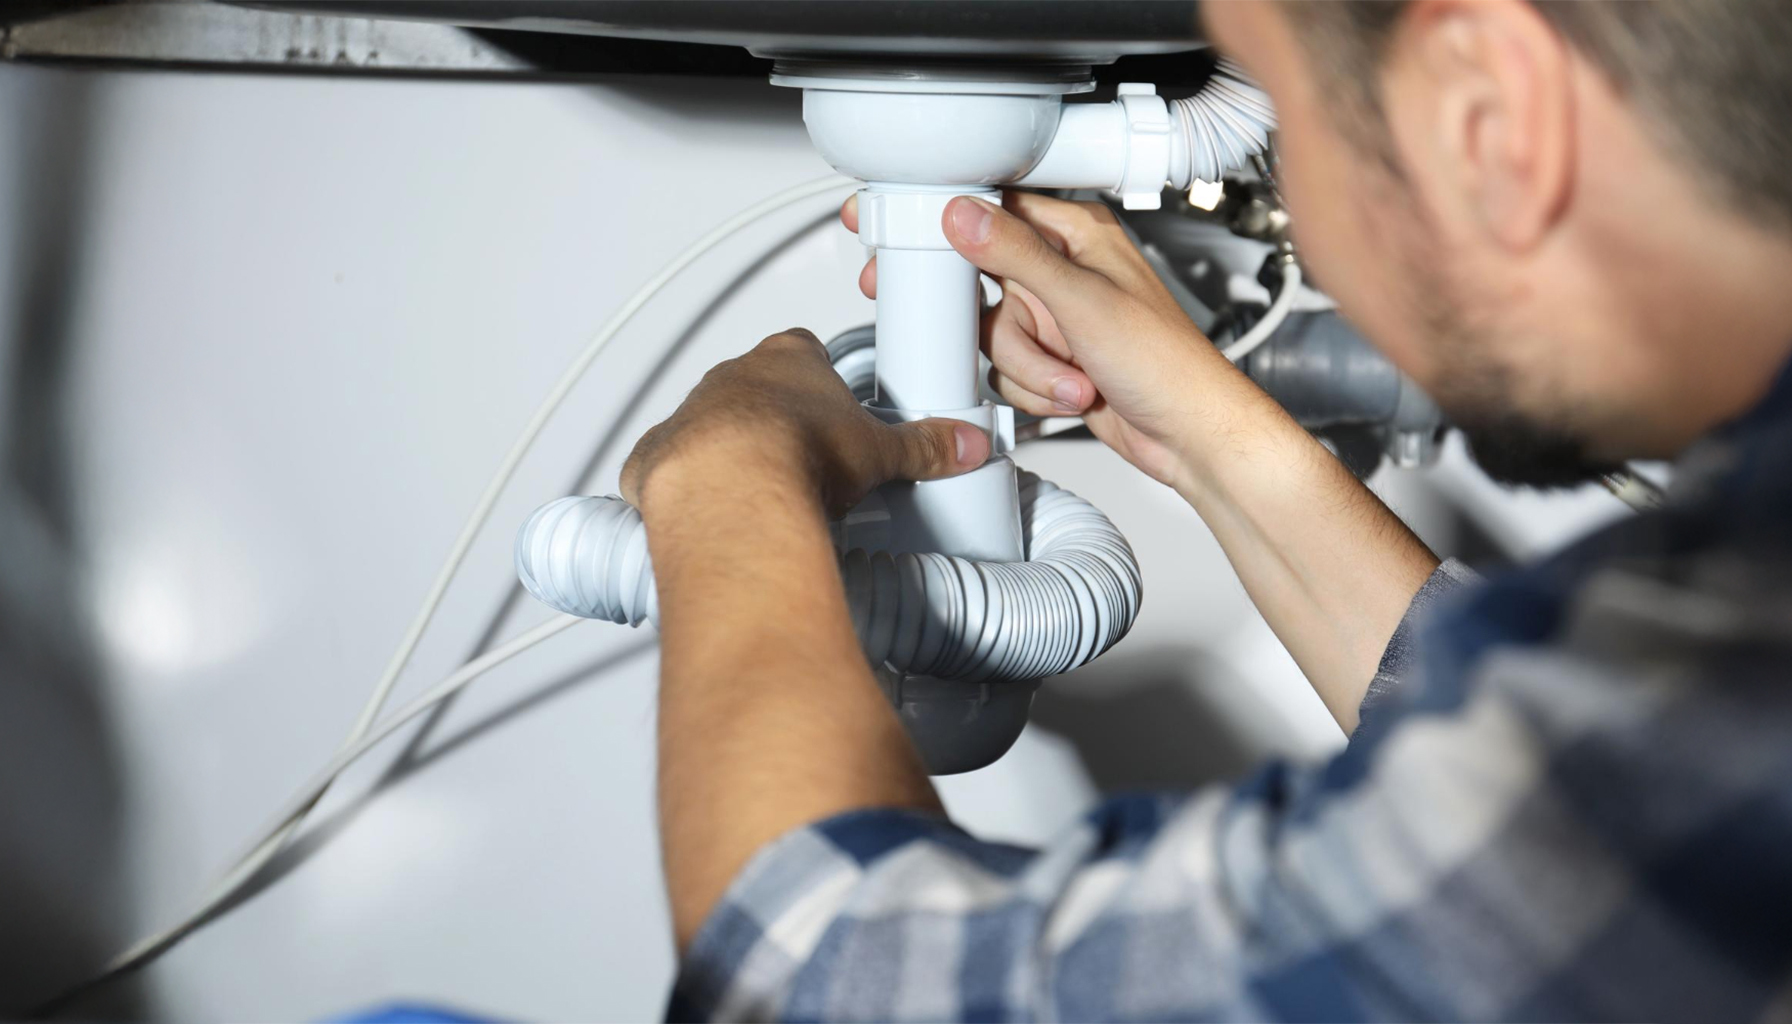
Leak-free joints come from consistent preparation, compatible materials, and time discipline. Start with square cuts using a sharp cutter or fine-tooth saw, then deburr inside and out so shavings do not track into the socket.
Dry-fit and mark the insertion depth with a witness line so the installer can confirm full-socket engagement. Where the system calls for it, use the approved primer that opens the surface, then apply the correct viscosity solvent cement to both spigot and socket in a thin, even coat. Immediately push to the depth mark and give a controlled quarter-turn to spread the cement uniformly. Hold alignment briefly to prevent push-back, then wipe the bead clean.
Respect the cure windows based on ambient temperature and pipe size, and do not load the line early. A visible cement bead, intact witness marks, and a clean, seated shoulder tell the QC story at a glance.
Hydro testing and acceptance before tile closure
After curing, pressure test the network section-wise so that any weeping joint is easy to locate. Stabilise pressure, hold for the specified duration, and record the readings on a commissioning sheet with date, time, ambient temperature, and installer signature.
For hot lines, a staged heat-up after a successful cold test helps reveal marginal joints before handover. This is where disciplined documentation reduces disputes and callbacks.
Procurement checklist: one system, zero surprises
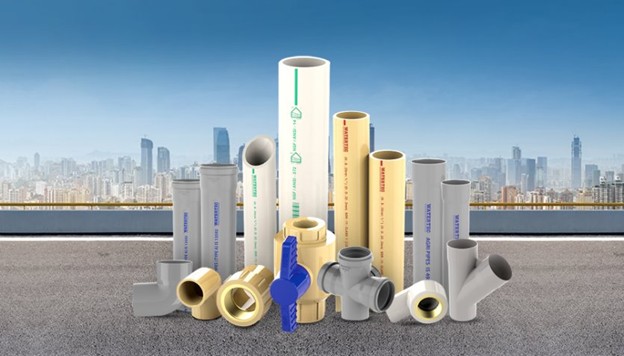
Compatibility across CPVC pipe fittings and pipes and fittings matters as much as the installer’s skill. Build a single-system bill of materials that includes pipe schedule, tees and elbows, reducers, transition fittings to metal, isolation valves, supports, clamps, and approved primer and solvent cement.
Keep hot-water specific items in one place, like union ball valves near water heaters and metal-to-CPVC adapters at appliances. Note support spacing by pipe size, and include thermal allowances on longer hot runs so elbows and tees are not stressed by expansion.
Package all this with printed install SOPs, cure charts, and warranty registration so the site team has no reason to improvise.
Quality controls that cut callbacks
Three controls make the difference.
First, insertion-depth witness marks on every joint prevent shallow engagement, which is a common leak cause.
Second, random pull tests on sample coupons from the same lot verify bond integrity without risking finished lines.
Third, a photographed bead check during QC captures visual proof that cement coverage was complete. Add a final step: label each circuit and take baseline photos before tile closure.
That visual record saves hours during any future service.
Installer tips for reliability in Indian sites
Humidity and heat shorten open time for solvent cement, so work in shade and plan joints before opening the can. Keep rags, a deburring tool, and a fresh brush close so the application stays smooth and repeatable.
Never mix primers or cements across unrelated systems, even if the sizes match. On metal transitions, use correct thread sealant on the metal side and keep the CPVC side strictly solvent-welded.
Where lines cross kitchens or wardrobes, add isolation valves that make future maintenance clean and quick.
Why does Watertec help deliver leak-free outcomes?
Watertec’s system-matched pipes and fittings strategy, with clear solvent-weld SOPs and compatibility guidance, helps installers get predictable results on the first attempt. Precision-moulded CPVC pipe fittings, vetted primers and cements, and plain-language curing and test protocols reduce rework and protect finishes after handover.
For developers and homeowners, that means steady flow, quiet lines, and fewer surprises over the warranty period.
Conclusion: specify smart, weld right, and document
Pick the pressure class with temperature derating and concurrency in mind, then execute a consistent solvent-weld SOP that respects cure windows and insertion depth for durable CPVC pipe fittings. Test before tile closure, document baselines, and stick to one approved system for all pipes and fittings to avoid hidden incompatibilities.
To speed specification and procurement, compare pressure classes and approved cements, download the joint QA checklist, and request a bundled CPVC system quote from Watertec so design, installation, and warranty align from day one.